Rise of the Tomb Raider Walkthrough – How to beat Rise of the Tomb Rader with No Damage sustained, at the hardest difficulty, with 100% Statistics completed – watch full playlist, or scroll down to find links to detailed walkthroughs in textual format, if that works better for you.

Tomb Raider 2013 – also known as Tomb Raider Reboot, or first part of the Reboot Trilogy – was quite controversial. Crystal Dynamics obviously wanted to revive the game and attract the younger generation of gamers. However, the hard-core fans of the old-school Tomb Raider were more than disappointed. They didn’t like the new Lara and the new game concept.
To remedy the situation and to make up for the too radical change of the game, in 2015 Crystal Dynamics released the sequel to the Reboot Trilogy – Rise of the Tomb Raider. This game was well received by both the old fans and the new fans of the game. Finally we had the old and yet, the new Lara, the old and the new game style, the old and the new adventure, the old elements and the new.
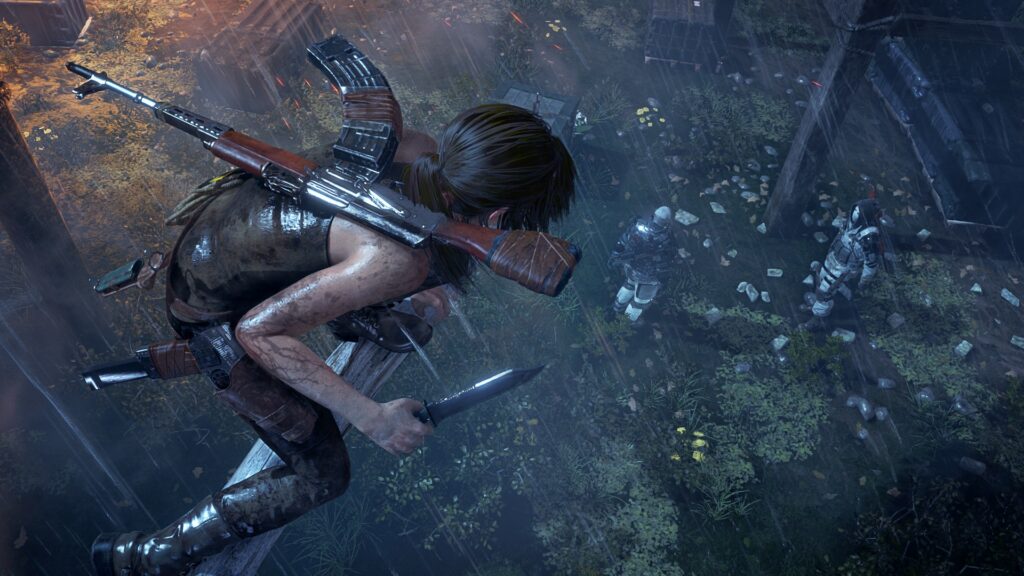
Rise of the Tomb Raider is indeed an amazing adventure, full of exploration, tombs, mysteries, traps and puzzles. It’s much longer and larger than the prequel, and definitely more beautiful. Instead of open and direct combat that was present in all Tomb Raider games, this time we have stealth and melee attacks, shrapnel grenades and custom-made defensive and offensive weapons, a large selection of weapons and upgrades, and even outfits that can help her in hunting, combat and crafting. In short, this game has everything old and new Tomb Raider fans had been clamoring for ever since Tomb Raider 2013 was released.
Story
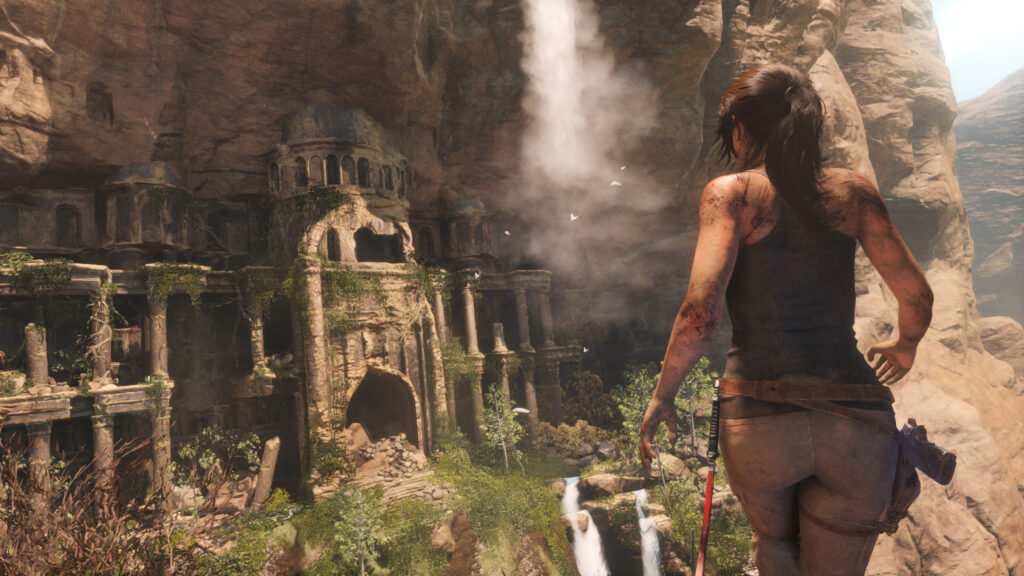
Lara follows the clues her late father left in his journals, and decides to find the Divine Source, an ancient artifact that is rumoured to be the source of immortality. According to her father’s maps and records, the Divine Source is hidden in the Prophet’s tomb in Syria. She arrives in Syria only to find out that the ancient sect – the Order of Trinity – has been searching for the same artifact. Lara manages to find the Prophet’s tomb only seconds before Trinity, but the tomb is empty… Disappointed and desperate, she goes back to England…
But then she realizes something… The ancient symbol she saw in Syria is also a symbol of the ancient city of Kitezh, lost and hidden in the snowy mountains in Siberia. Her friend Jonah tries to talk her out of it, but Trinity attacks them in Croft Manor and steals her father’s journal… Now they have to go to Siberia and try to find Kitezh and the Divine Source before them.
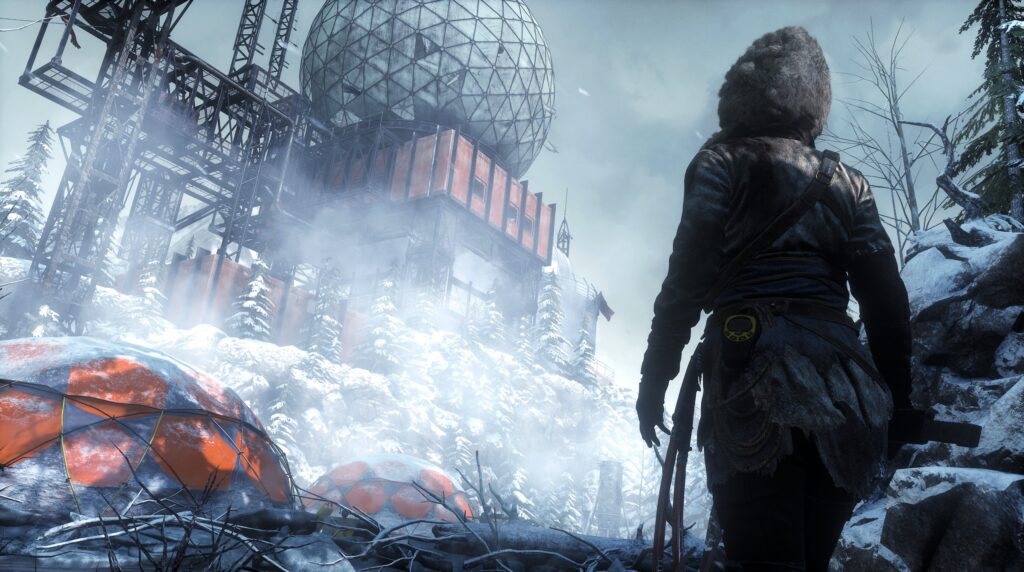
In Siberia, Lara explores the abandoned Soviet military installation and meets the Remnants – people who followed the Prophet from Syria to Siberia, who founded Kitezh and hid the Divine Source. But Trinity is also there… Lara helps the Remnants in their defense and meets Jacob, their leader and chief. Eventually, she finds Kitezh, but must also deal with Trinity and the ancient immortal guardians who will prevent them from getting to the Divine Source.
Rise of the Tomb Raider Strategy Guide
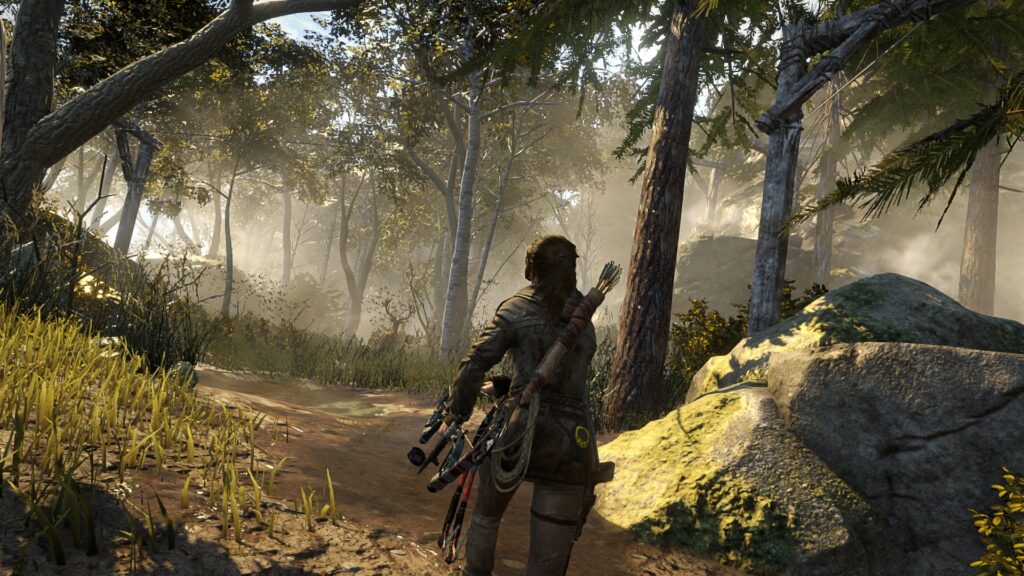
Once again, Lara’s main weapon is the Bow. However, in Rise of the Tomb Raider, the Bow is definitely the weapon of choice. It’s more powerful than the bow from the prequel. It will be upgraded during the game. Poison arrows are extremely powerful, so use it carefully when necessary and make sure to collect every mushroom.
Use stealth whenever you can, to conserve ammo and get additional XP, which will help you upgrade Lara’s skills and make things easier later.
Hunt animals, gather natural and other resources, craft grenades and Molotov cocktails, upgrade the weapons and use the adequate outfit for the task ahead. Help the Remnants, complete missions and challenges, and make sure to reach the last level with all supplies topped.
Rise of the Tomb Raider walkthrough
- Level 1: Mountain Peak
- Level 2: The Prophet’s Tomb
- Level 3: Siberian Wilderness
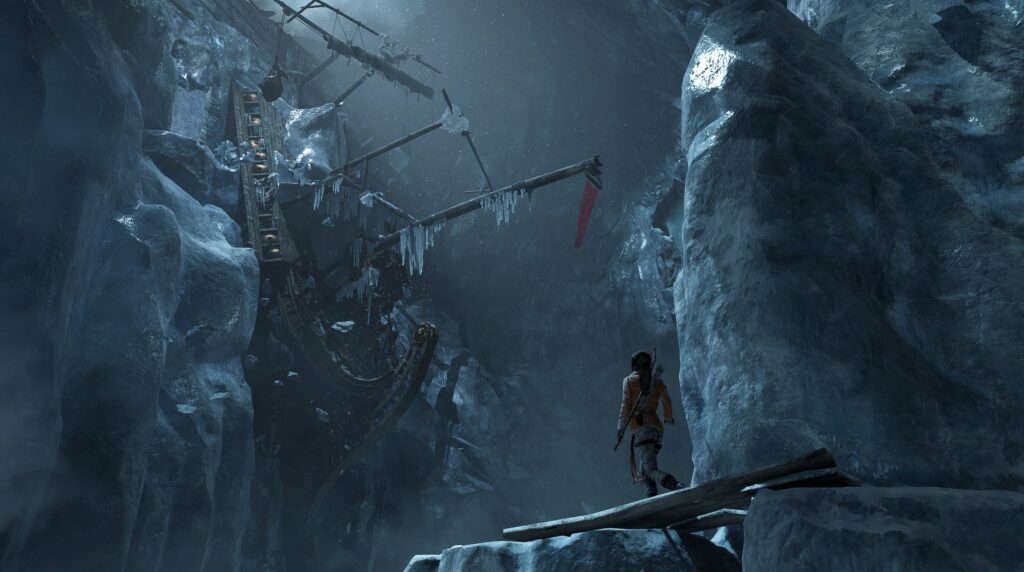
- Level 4: Glacial Cavern
- Level 5a: Soviet Installation: Installation Vista
- Level 5b: Soviet Installation: Train Yard
- Level 5c: Soviet Installation: Gulag
- Level 5d: Soviet Installation: Copper Mill
- Level 6: Abandoned Mines
- Level 7a: Geothermal Valley: Farmstead
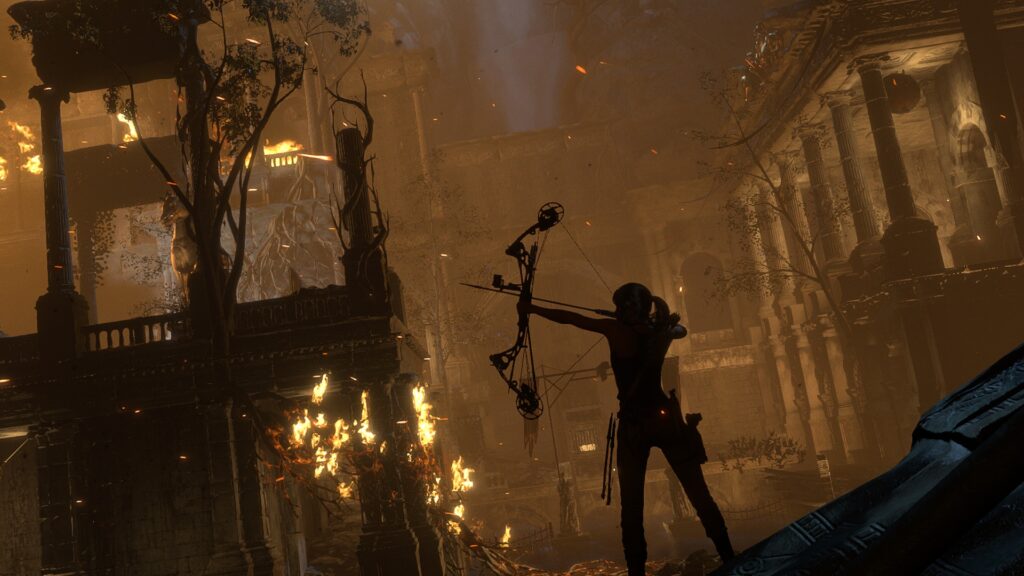
- Level 8: Acropolis
- Level 7b: Geothermal Valley: Swamps
- Level 9: Flooded Archives
- Level 7c: Geothermal Valley: Cliffsides
- Level 5e: Soviet Installation – Copper Mill Bridge
- Level 10: Research Base
- Level 11: The Orrery
- Level 12: Path of the Deathless
- Level 13a: The Lost City: Outskirts of Kitezh
- Level 13b: The Lost City: Chamber of Souls